Custom Mock Agents
Custom Mock Agents are fully configurable A2A-compliant agents you create within Agent Explorer. Unlike the built-in mock, each custom mock agent has its own AgentCard, skills, response logic, and A2A endpoint.
Why Custom Mock Agents?
| Use Case | Description |
|---|---|
| Protocol testing | Test your client against a known-good A2A implementation |
| Skill simulation | Simulate specific agent skills with controlled responses |
| Error scenarios | Test how your client handles errors, delays, and edge cases |
| Team demos | Share a stable mock agent with your team via team ownership |
| CI/CD | Use the mock agent endpoint in automated tests |
Creating a Mock Agent
From the Explorer, click Add New → Agent and choose one of:
- Create a mock agent — fastest path. Just name it, pick supported protocol versions, and a minimal mock is provisioned. You can fill in skills and flows afterwards in the Configuration tab.
- Mock this agent — after entering a URL or uploading an AgentCard, this button clones the discovered AgentCard into a mock you can edit.
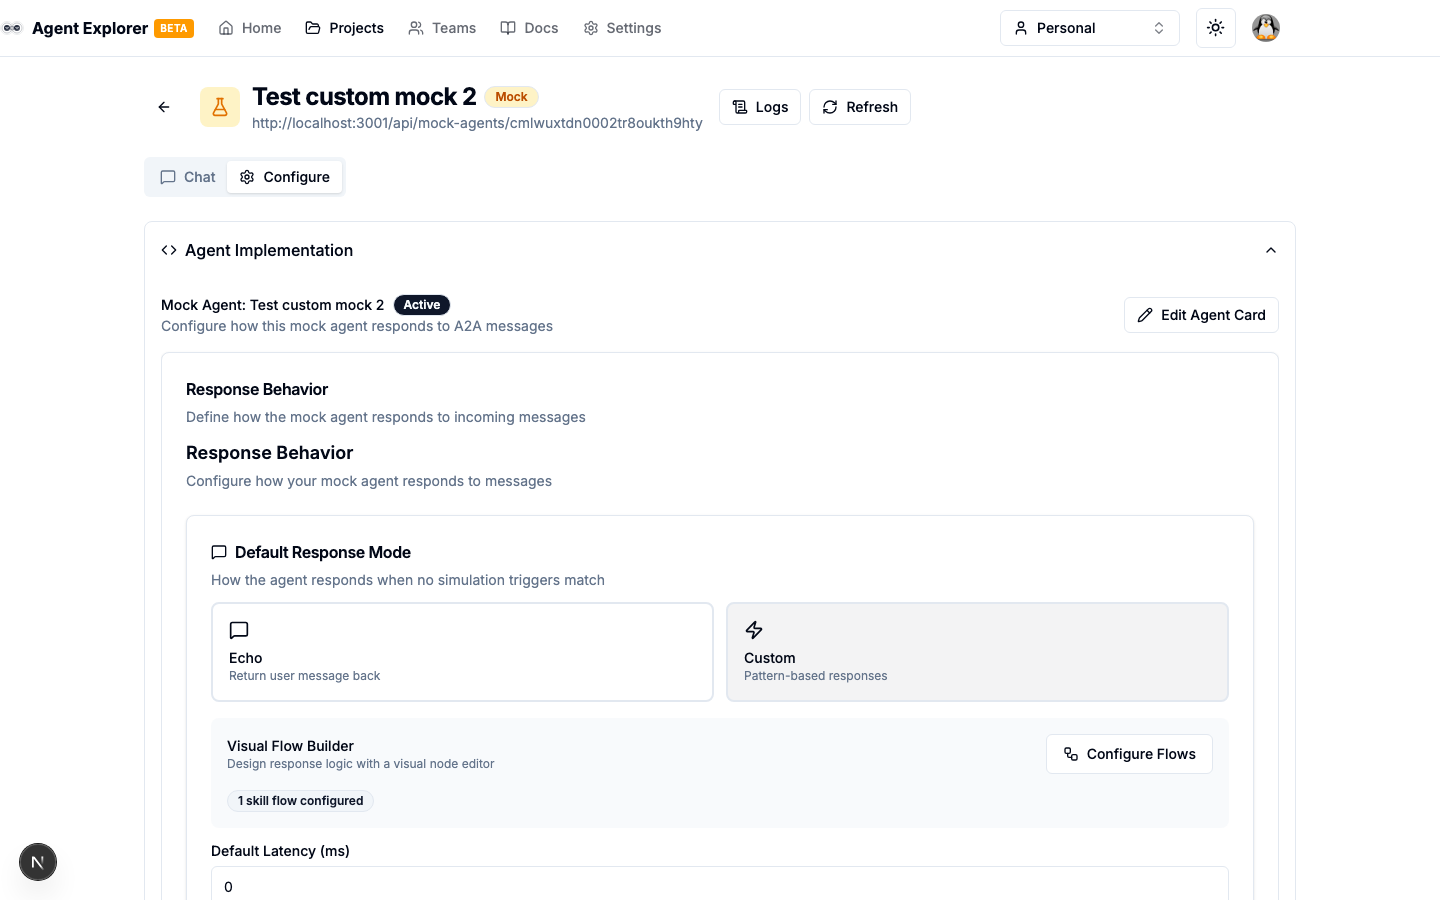
After creation you land on the agent's Configuration tab. From there you can open the Edit AgentCard dialog (also called the "8-step wizard") to fill out every part of the AgentCard:
Step 1 — Basic Info
- Name — Display name for the agent (required)
- Description — What this agent does
- Version — AgentCard version string (e.g.,
1.0.0) - Icon URL — Optional icon for the agent
Step 2 — Interfaces
Configure the protocol interface endpoints. For mock agents, this is auto-populated based on the agent's URL. You can customise the protocolBinding (JSONRPC) and protocolVersion.
Step 3 — Capabilities
Toggle capabilities the mock agent will advertise:
| Capability | Description |
|---|---|
| Streaming | Advertise SSE streaming support |
| Push Notifications | Advertise push notification support |
| State Transition History | Include state history in responses |
| Extended AgentCard | Support extended AgentCard format |
Step 4 — Skills
Define one or more skills. Each skill has:
- ID — Unique identifier (used in routing)
- Name — Display name
- Description — What the skill does
- Tags — Searchable tags
- Input/Output Modes — MIME types (defaults to
text/plain)
Step 5 — I/O Modes
Set default input and output MIME types for the entire agent.
Step 6 — Provider
Set the organisation and URL of the provider (metadata only).
Step 7 — Response Behaviour
Configure how the mock agent responds. See Response Behavior for full details.
Step 8 — Review
Preview the full generated AgentCard JSON, review validation status, and save.
Mock Agent Endpoint
After creation, the mock agent is available at one of its versioned endpoints (the protocol version is always explicit in the URL):
{base-url}/api/mock-agents/{agent-id}/v1.0.0
{base-url}/api/mock-agents/{agent-id}/v0.3.0
The AgentCard is served at:
{base-url}/api/mock-agents/{agent-id}/.well-known/agent-card.json
Editing a Mock Agent
Open the mock agent and go to the Configuration tab. Use Edit AgentCard to re-open the 8-step wizard pre-populated with the current configuration — save at any step.
Ownership
Mock agents can be personal (only visible to you) or team-owned (visible to all team members). Change ownership in the wizard's Review step or directly on the Configuration tab.
API Keys
Mock agents support API key authentication. Generate API keys in the Configuration → API Keys section of the agent's detail page. Include the key as a Bearer token to restrict access to your mock agent.