Teams
Teams let you share projects and mock agents with collaborators.
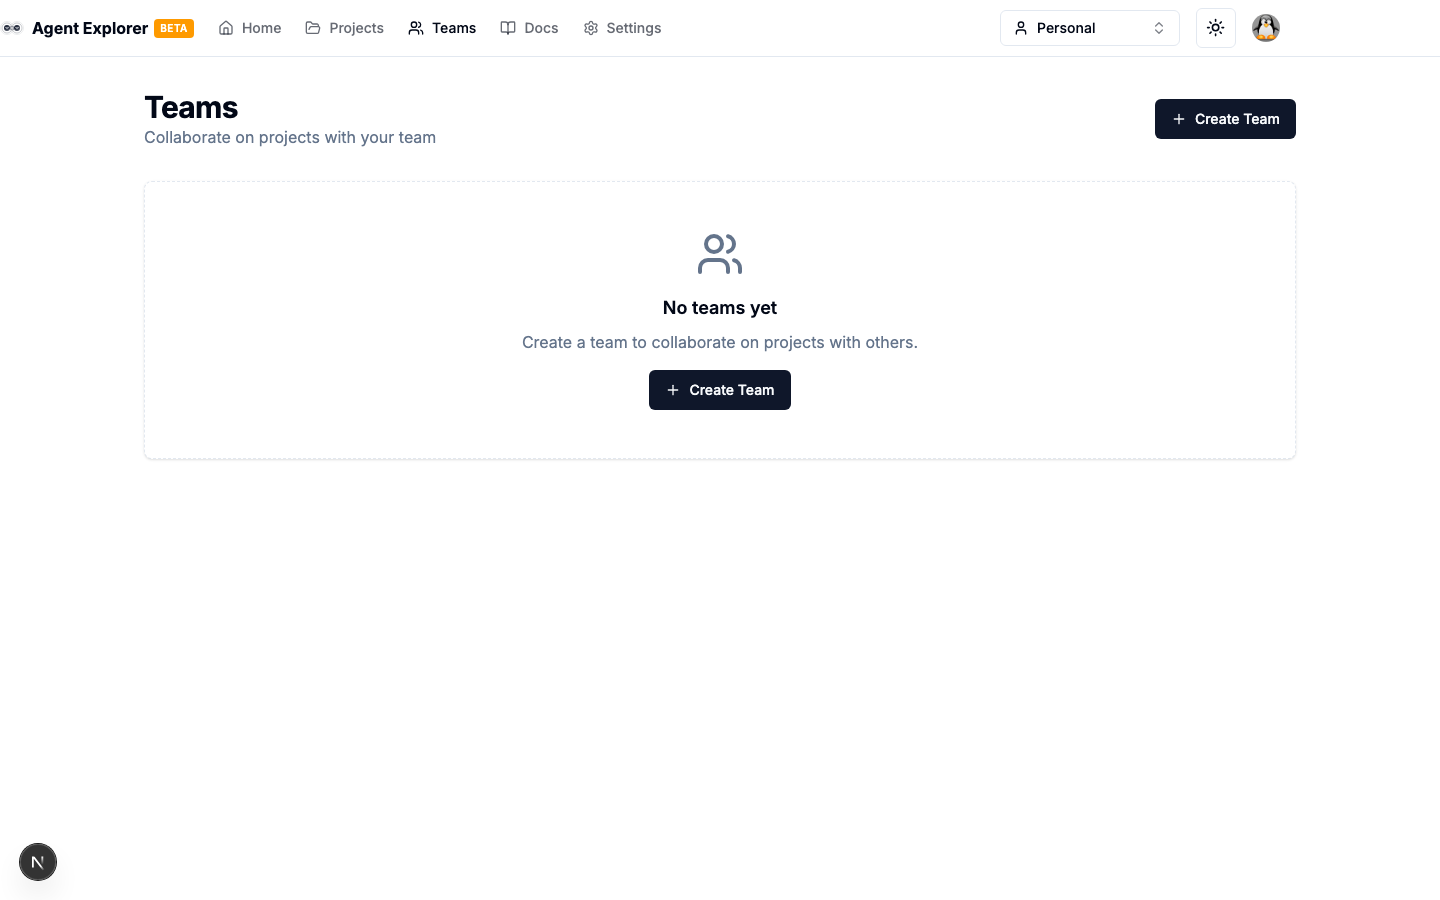
Creating a Team
- Go to Teams in the navigation
- Click Create Team
- Enter a team name and slug (URL-friendly identifier)
- Click Create
Team Roles
| Role | Permissions |
|---|---|
| Owner | Full access, can delete team, manage all members |
| Admin | Can add/remove members, manage projects and agents |
| Member | Can view and use shared projects and agents |
Managing Members
From the team page:
- Click Manage Members
- Invite by email or user ID
- Assign a role
- Members receive access to all team-owned resources
Team-Owned Resources
Any agent, MCP server, or workspace can be assigned to a team. When assigned:
- All team members can see and use the resource
- The team name appears as an ownership badge
- Resources are listed under the team in the Explorer when the team is active
Transferring Ownership
To move a resource from personal to a team (or vice versa):
- Open the agent or MCP server
- Go to the Configuration tab and change the Owner selector (Review step of the Edit AgentCard wizard works too for mock agents)
- Save
Team Switcher
The top-nav team switcher filters the Explorer to show resources owned by the selected team. Switch back to Personal to see only your personally-owned items.
Deleting a Team
Deleting a team does not delete its resources — agents, MCP servers, and workspaces are reassigned to their creating user. Only the team membership is removed.