Quick Start
Get up and running with Agent Explorer in just a few steps.
1. Sign In
Open Agent Explorer and sign in with your email or Google account. New accounts are auto-seeded with one Example Agent and one Example MCP Server so you have something to play with right away.
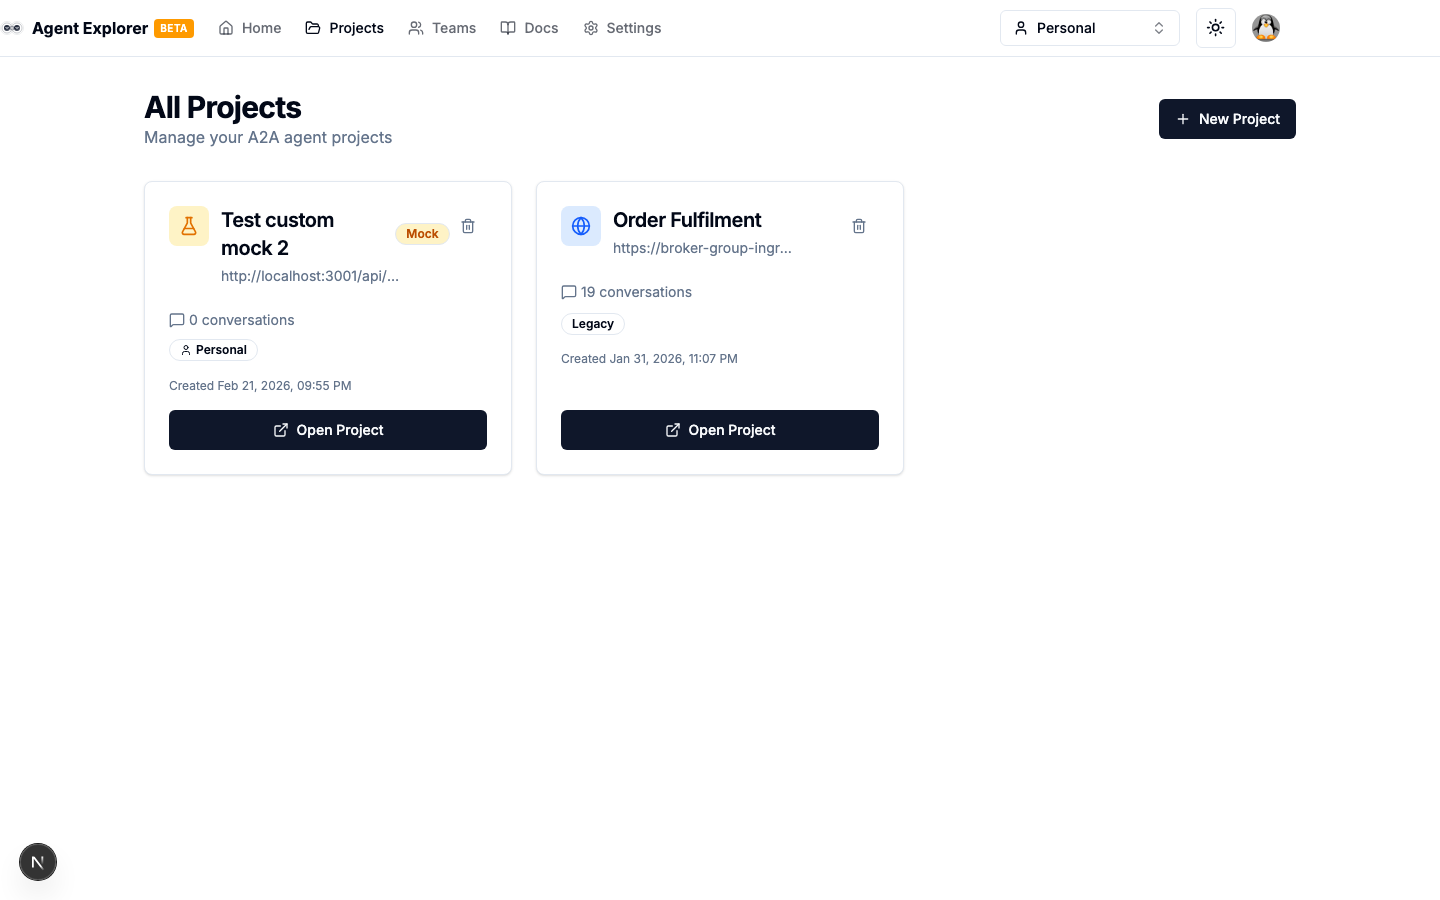
2. Land on the Explorer
After sign-in you'll land on the Explorer page — the single place where you manage Workspaces, Agents, and MCP Servers. The Explorer is a three-column layout:
- Workspaces (left) — optional folders that group related Agents and MCP Servers
- Agents (middle) — A2A agents, both real and mock
- MCP Servers (right) — MCP servers, both real and mock
If the example resources from sign-up are still there, click the Example Agent to skip ahead to step 4.
3. Add a New Agent
Click the Add New button in the top-right and choose Agent. A dialog opens with three creation paths:
- Connect to an existing agent — paste a URL; Agent Explorer fetches and validates the AgentCard from
{base-url}/.well-known/agent-card.json. - Upload an AgentCard file — drop a JSON file; useful when the agent isn't reachable from the browser yet.
- Create a mock agent — spin up a configurable mock A2A server from scratch. Good for prototyping a client.
After the three paths, you can either Connect to this agent (real) or Mock this agent (clone the AgentCard as a mock you can edit). Picking Mock this agent is a great way to copy an existing public agent locally and tweak its responses.
4. Open the Agent and Test It
Selecting an agent in the Explorer opens its detail page with a vertical tab sidebar:
- Agent Card — view and validate the AgentCard
- Configuration — name, URL, headers, ownership, and (for mocks) skills, response behaviour, API keys
- Chat — send A2A messages and watch task state in real time
- Flows (mocks only) — visual node-based response logic, per skill
- Webhooks (mocks only) — push-notification subscriptions and delivery log
- Integrate — copy-pasteable code snippets for your language of choice
- Test Harness — export a Postman collection
Real agents land you on Chat by default. Newly created mocks land you on Configuration so you can fill in skills and flows before sending traffic.
To test:
- Open the Chat tab.
- Type a message in the input and press Send (or Enter).
- The agent's response and the live task state appear in the conversation; expand any message to see the raw JSON-RPC request and response.
5. Inspect Logs
The Logs link at the bottom of the agent's tab sidebar opens a full request/response history with timestamps, latency, and pretty-printed JSON.
Mock Agent Endpoint URLs
When you create a mock agent, it's immediately reachable at:
{base-url}/api/mock-agents/{id}/v1.0.0
{base-url}/api/mock-agents/{id}/v0.3.0
The protocol version is always explicit in the URL — pick the one matching the spec your client supports.
The mock's AgentCard discovery document lives at:
{base-url}/api/mock-agents/{id}/.well-known/agent-card.json
Mock MCP Server Endpoint URLs
Mock MCP servers expose a single JSON-RPC endpoint plus a discovery document:
{base-url}/api/mock-mcp-servers/{id}/mcp
{base-url}/api/mock-mcp-servers/{id}/.well-known/mcp-server.json
Built-in Test Agent
For the absolute quickest test with zero setup, point any client at the built-in echo agent:
{base-url}/api/mock-agent
It echoes messages, accepts special commands like delay 3 and status failed, and supports both synchronous and streaming responses.
What's a Workspace?
Workspaces are optional. They're folders that group related agents and MCP servers so you can hand a single bundle to a teammate or scope work for a project. You can use Agent Explorer without ever creating one — pick Add New → Workspace later if you want the organization.